

Piece By Piece
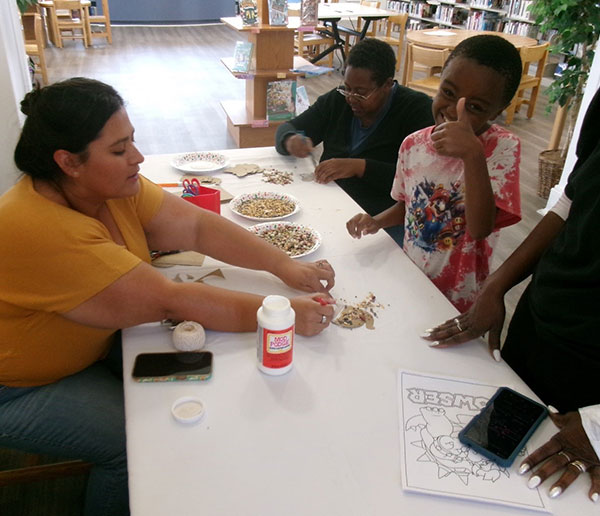
Join us in celebrating the ancient art form of mosaic by creating your own version using seeds and beans!
What are mosaics exactly?
Mosaics are designs and images created using tesserae, small pieces of stone, glass, and other materials. Some of the earliest examples of mosaic are Mesopotamian wall decorations; however, mosaic has been found in many other areas around the world. By studying mosaics, archaeologists continue to gain deeper understandings of culture, history, and art.
Create your own mosaic by following the directions below.
Supplies
- Cardboard or cardstock
- Variety of dried seeds and beans
- Pencil
- Craft glue such as ModPodge
- Small cup or container for holding seeds
- Paintbrush for spreading glue
- Recycled paper or newspaper for protecting your workspace
- Find inspiration! Think of something that is meaningful to you. It could be your favorite animal or insect, a symbol, a plant, or even a landscape. Tip: Keep your design as simple as possible. This will make it easier to fill with seeds/beans!
- Draw your design. Quickly draw a rough sketch of your design on a piece of cardboard or cardstock. Tip: This does not have to be perfect since we’ll only be using this as a guide.
- Select your seeds and beans. Take a close look at the seeds/beans you have and decide which colors, shapes, and sizes would work best for your design.
- Add glue to a small area. Use your paintbrush to spread a thin layer of glue on a small section of your design. Tip: Avoid covering your whole design in glue right away since the glue dries quickly. Work in sections.
- Begin building your mosaic. Carefully place your seeds/beans on the glue, using the lines of your sketch as your guide. Try arranging the seeds/beans in rows or clusters, or whatever pattern works best for your design.
- Continue adding glue and filling in your design. Work on adding glue and seeds/beans in small sections until your entire design is complete. Gently press the seeds/beans down using the palm of your hand or a heavy book.
- Let your design dry. Place your finished mosaic in a safe spot and allow it to dry fully before moving it.
- Display your design! Share your artwork by displaying it at home. Tip: use a picture frame or simply hang it on the wall using string or tape.
Create
Gather your art supplies! While many aspects of archaeology are deeply connected with hard sciences like geology and chemistry, art and culture also have an important place within archaeology. These DIY activities are the perfect way to explore archaeology using your creativity and imagination.


- [email protected]
- 2701 Loker Ave W Suite 145, Carlsbad, CA 92010
© 2026 ASM Public Archaeology. All Rights Reserved.